I always wanted a wall of books in one room, like a library room. So down to the workshop to knock them up. Veneered board with hardwood trim. A two tone bookshelf. I like them.


I always wanted a wall of books in one room, like a library room. So down to the workshop to knock them up. Veneered board with hardwood trim. A two tone bookshelf. I like them.
Here is a great idea to keep your magazines tidy and in order. Take a look at this how-to video of creating this easy magazine wall display.
The pictures below also show how simple it is to create this timber frame and then to add the rope – drill, thread, knot and its ready to go.

Step 1: Measure and mark
 \
\
Measure and mark 600mm (or find the centre) on one 1.2m timber length.
Step 2: Cut the timber

Cut the timber using a drop saw (a handsaw will also get the job done). This will give you two 600mm lengths – these will be the top and bottom of the frame. Measure and mark the thickness of the timber on both ends of the second 1.2m length. This will make sure you don’t go too close to the edges when drilling. Repeat process on second 1.2m length.
Step 3: Find the centre and drill

Find the centre of the traced-out square on one end of the 1.2m timber and use a drill and drill bit to make two holes on either side of the centre point, about 1cm apart. Repeat on all four ends. Make sure the holes are slightly bigger than the screw, so the screw has room to move.
Step 4: Form the frame

Clamp bottom timber (600mm length) on table. Insert screws into the 1.2m-timber holes and align timber and screws on the side of the 600mm length, creating a corner, and screw in place. Repeat process on all four sides, forming a frame. Sand frame well and give it a stain. Leave to dry.
Step 5: Measure and mark

Measure and mark 150mm in one of the 1.2m sides, starting from the corner. Then from the first 150mm mark, measure and mark another 150mm space this process until you have six marks and a 150mm space between each. Repeat process on the other 1.2m side.
Step 6: Measure and mark

Measure and mark 21mm in at each 150mm point using a combination square. This will give you the exact centre point, so you drill in the centre of the timber.
Step 7: Drill the holes

Using a drill and a drill bit that is slightly bigger than the rope, drill holes going all the way through each mark. You should now have 12 holes, six on either side.
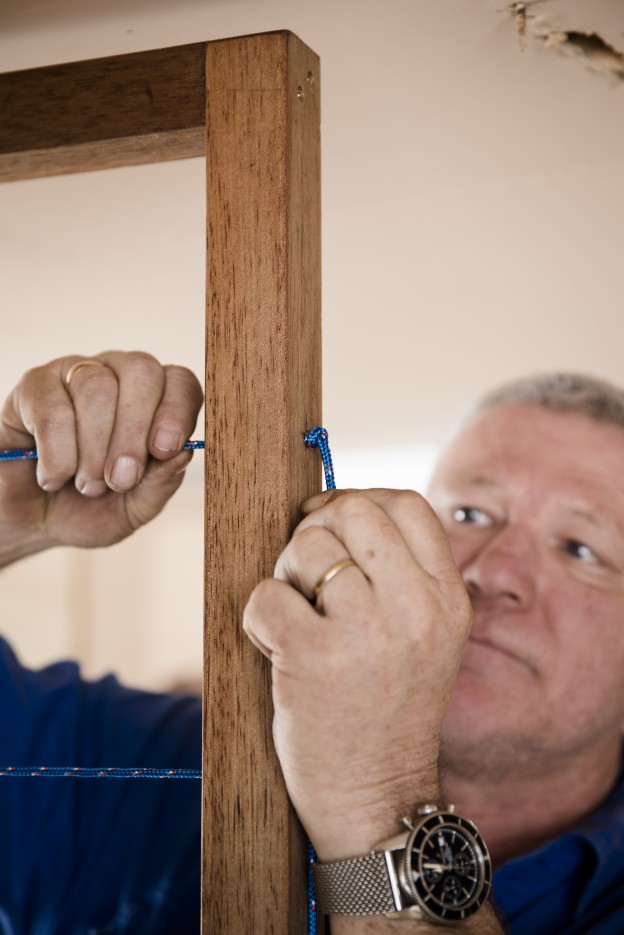
Step 8: Thread the rope

Thread the rope through the holes, cut off excess rope and tie a knot on the ends, making sure the rope is as tight as possible so the string stays in place.
Final step: DIY magazine rack

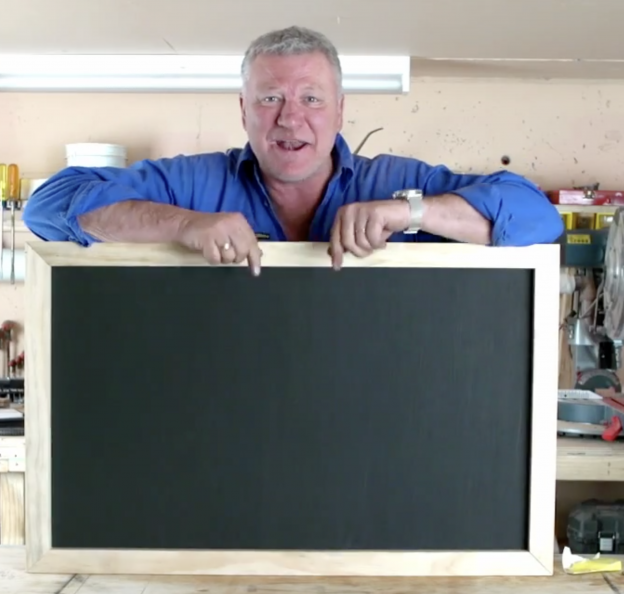
https://www.youtube.com/watch?v=eOE7CAfQ7QU You know when you’ve gotta leave a message for someone at home and you cant find paper or a pen? Check out this how-to video to make yourself a little blackboard for all the family to use. It's ... [read more]
https://www.youtube.com/watch?v=Exh6v5Gr5hU These art boards are a great way to show off your kid’s art work and knowing how many masterpieces come home each week from school, its also an easy way to update the displays. Have a look at the ... [read more]
These art boards are a great way to show off your kid’s art work and knowing how many masterpieces come home each week from school, its also an easy way to update the displays.
Have a look at the how- to video and the pictures below, to check out the easy instructions, including a safety tip when using power tools.

Step 1: Position A4 paper

Position A4 sheet and bulldog clip on top of the timber.
Step 2: Mark out the border

Use a pencil and ruler to create a border around the sheet. I did 280mm across and 370mm down to create an equal border.
Step 3: Cut the timber

Cut the timber to size using a drop saw or handsaw.
Step 4: Shape the edges

Use a hand planer to shape the edges of the timber. This will create a smoother and cleaner look while also making the sanding process easier. The best way to plane timber is by starting with the side grain (two longer sides), then across the end grain (top and bottom) to ensure the ends don’t split.
Step 5: Sand the timber

Sand the timber well for a much smoother finish.
Step 6: Stain the timber

Use a cloth to stain the timber. Latex gloves are essential to avoid staining your hands. Leave to dry.
Step 7: Mark the drill point for the bulldog clip

Position A4 sheet and clip onto the timber. Measure halfway across the top of the timber and find the centre point. With a 285mm top the middle point sits at 142.5mm. Place bulldog clip on the 142.5mm point, bringing it 1cm down from the top.
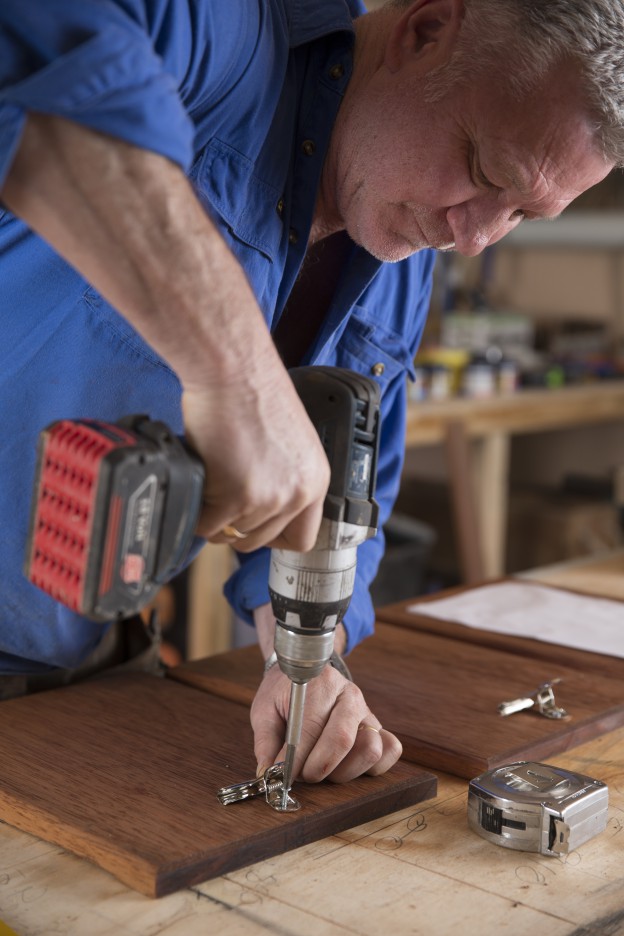
Step 8: Screw the bulldog clip

Screw bulldog clip in place using a drill and clip in the artwork.
Final Step: DIY Art Board

https://youtu.be/8iee3OCNHTg Here is a great idea to keep your magazines tidy and in order. Take a look at this how-to video of creating this easy magazine wall display. The pictures below also show how simple it is to create this timber fram ... [read more]
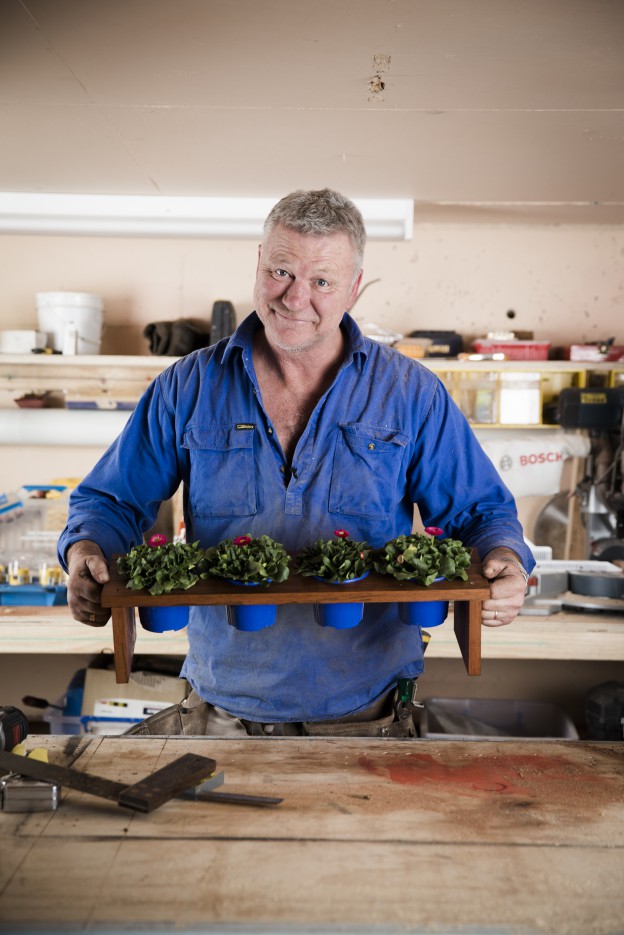
https://www.youtube.com/watch?v=u8rgQEJNKzw Do you want your kitchen window sill to look greener? Then watch this how-to video to make the perfect shelf for your pots. This simple timber plant stand, for inside or outside, is just the thing for ... [read more]

This was an outdoor area at home but it was never used so I decided to put in bifold doors, a side window and fixed glass surrounding this space. We gained an extra room and created a new space away from the existing lounge with great views of the garden. A little chill out zone. The bifolds needed a channel cut into the slab for them to track on. I’m using my demo saw with the water attachment to make two saw cuts 20 mm apart and 20 mm deep, then chip out the channel with a small electric jack hammer.

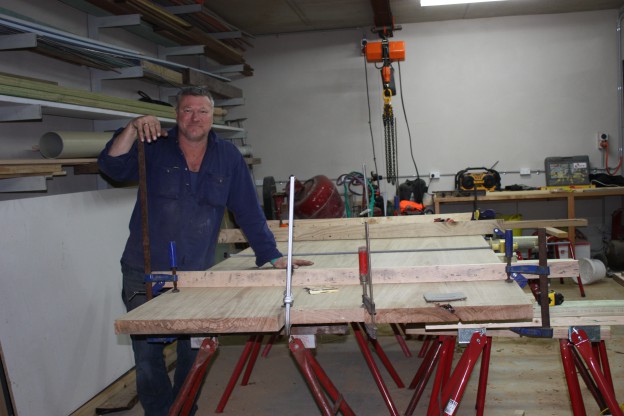
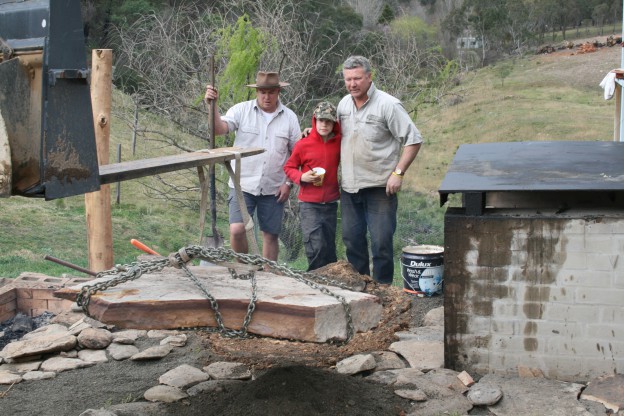
One of the greatest tools I have is a Lucas Mill (Google it). It’s a portable mill which you build over the fallen log. We had a nice tree unfortunately come down on the property, a white stringy bark gum. It’s timber is not used that much ... [read more]
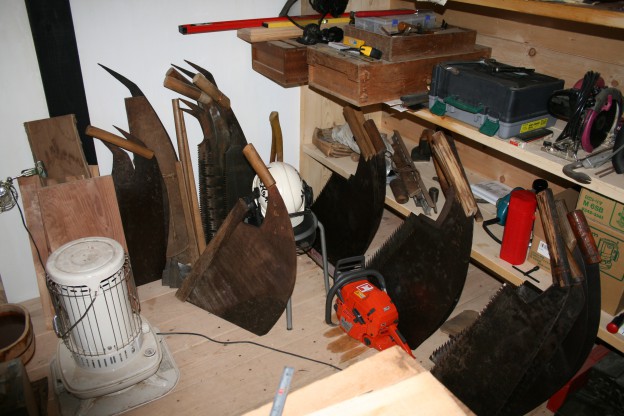
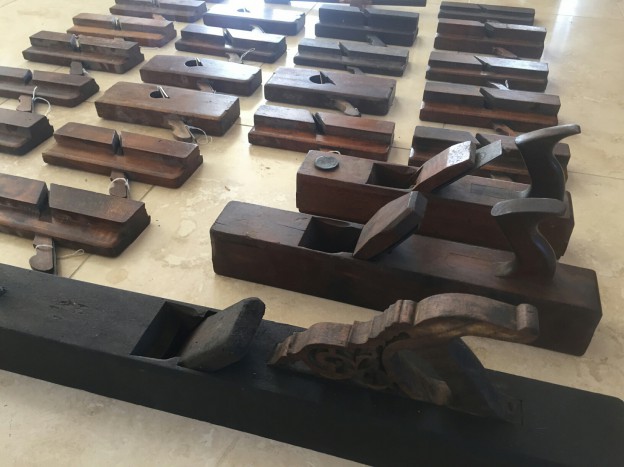
I visited Japan a few years ago and dropped into a master carpenter’s workshop. What an incredible experience it was! The timber, the tools, the craftsmanship, it was all amazing. The handsaw in the photo was used to cut a 60mm slab from a l ... [read more]
Creating Christmas decorations for the tree can be simple and fun. All you need is timber, a drill, paint and a rope.
Watch this how-to video and check out the pictures below on how to create this little Christmas house. Using this simple idea you can design and create a variety of decorations at this festive time.
Begin with length of timber (7cm x 4cm) Plus timber scraps to use as stamps; pencil; ruler; circular saw; drill; paintbrush; red paint; black paint; rope
Step 1: Mark the centre point

Place the timber on the table longways vertically. On the top edge, mark the centre point.
Step 2: The roof

To create the roof line, rule a diagonal line about 45° from the centre point to the right, towards the outside edge. Repeat on left side. The lines don’t have to be perfectly even – it’s better if your house is a bit rough looking.
Step 3: Circular saw

Use a circular saw to cut along the lines, creating the house shape. Now work out how big your house needs to be and mark the bottom line – about 7cm down from the roof line. Cut along that line with the saw.
Step 4: Drill a hole

You need to be able to hang your decoration, so drill a hole right through, near the roof peak.
Step 5: Paint

Paint the roof red.
Step 6: Windows and door

Use timber scraps to stamp the window and door. My window is a 1cm square and my door is about 1cm x 2cm. Dip the end of the small stamp into black paint then press onto the house in the window positions. Repeat with the other stamp to make the door shape.
Step 7: Rope

Thread rope through the hole. Tie a knot then trim excess length.
Final result: DIY Xmas Decoration

https://www.youtube.com/watch?v=u8rgQEJNKzw Do you want your kitchen window sill to look greener? Then watch this how-to video to make the perfect shelf for your pots. This simple timber plant stand, for inside or outside, is just the thing for ... [read more]
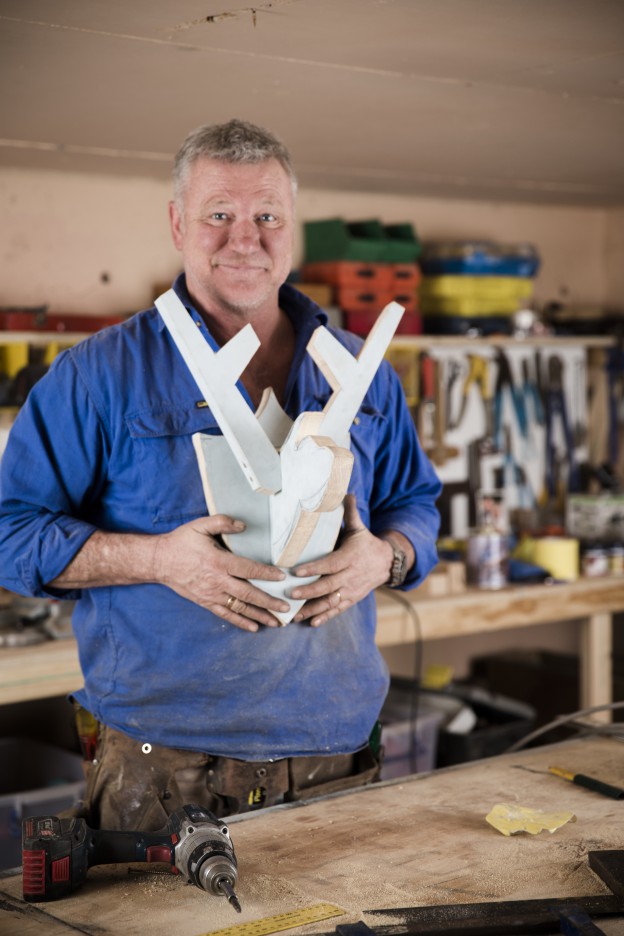
https://www.youtube.com/watch?v=mG8xV2PAkLw This is a chance to use your creative skills and have fun with designing your own deer head with antlers. It can have a modern or classical look or even a Christmas feel. Check out the DIY instruction ... [read more]
This is a chance to use your creative skills and have fun with designing your own deer head with antlers. It can have a modern or classical look or even a Christmas feel.
Check out the DIY instruction on the video and the pictures below to see how simple it is to create your own wall mounted Deer Head.

Step 1: Find the centre point

Step 2: Mark out the shield

Step 3: Cut out the shield

Step 4: Cut out the head

Step 5: Drill a hole for the head

Step 6: Attach the antlers

Final Result: DIY Deer head


https://youtu.be/12p2w0fVU3o Creating Christmas decorations for the tree can be simple and fun. All you need is timber, a drill, paint and a rope. Watch this how-to video and check out the pictures below on how to create this little Christmas ... [read more]
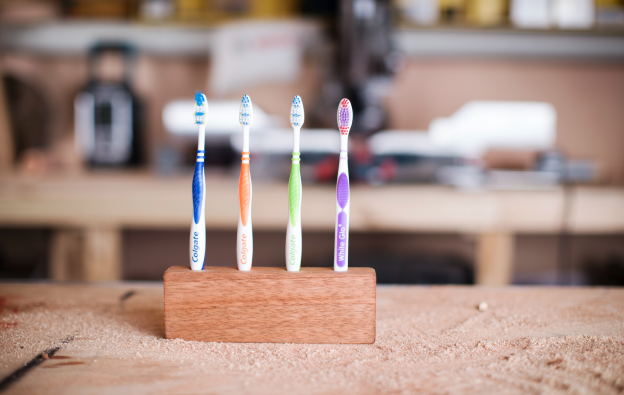
This DIY Toothbrush Holder is so easy to make - you can even get the kids involved. Check out this how-to video to create your very own DIY Toothbrush Holder or have a look at the photos below see how easy it is to make this DIY Toothbrush Hol ... [read more]