Tag Archives: staining timber

DIY Art Boards

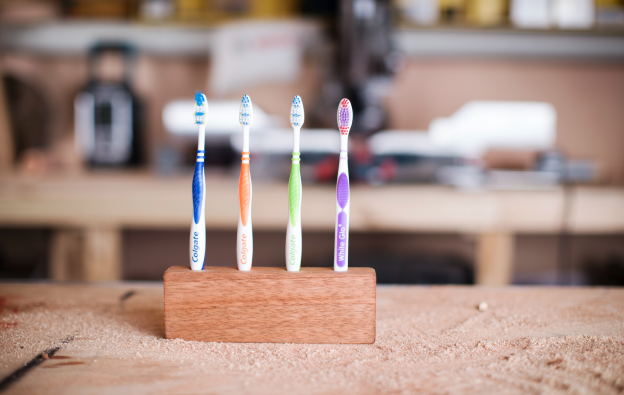
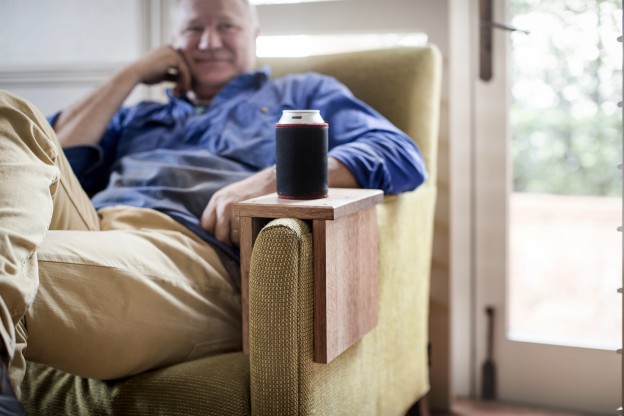
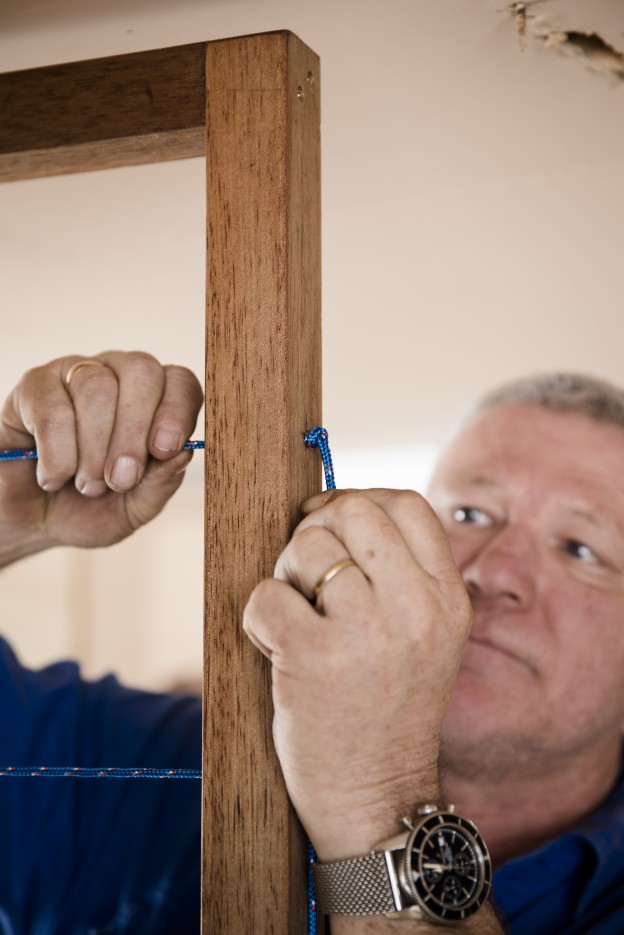
These art boards are a great way to show off your kid’s art work and knowing how many masterpieces come home each week from school, its also an easy way to update the displays.

Have a look at the how- to video and the pictures below, to check out the easy instructions, including a safety tip when using power tools.

140729H+scot-1707


Step 1: Position A4 paper

140729H+scot-1715

Position A4 sheet and bulldog clip on top of the timber.

Step 2: Mark out the border

140729H+scot-1718

Use a pencil and ruler to create a border around the sheet. I did 280mm across and 370mm down to create an equal border.

Step 3: Cut the timber

140729H+scot-1724

Cut the timber to size using a drop saw or handsaw.

Step 4: Shape the edges

140729H+scot-1734

Use a hand planer to shape the edges of the timber. This will create a smoother and cleaner look while also making the sanding process easier. The best way to plane timber is by starting with the side grain (two longer sides), then across the end grain (top and bottom) to ensure the ends don’t split.

Step 5: Sand the timber

140729H+scot-1740

Sand the timber well for a much smoother finish.

Step 6: Stain the timber

140729H+scot-1750

Use a cloth to stain the timber. Latex gloves are essential to avoid staining your hands. Leave to dry.

Step 7: Mark the drill point for the bulldog clip

140729H+scot-1755

Position A4 sheet and clip onto the timber. Measure halfway across the top of the timber and find the centre point. With a 285mm top the middle point sits at 142.5mm. Place bulldog clip on the 142.5mm point, bringing it 1cm down from the top.

Step 8: Screw the bulldog clip

140729H+scot-1767

Screw bulldog clip in place using a drill and clip in the artwork.

Final Step: DIY Art Board

140729H+scot-1772


Related: Do it Yourself

DIY Magazine Rack

https://youtu.be/8iee3OCNHTg Here is a great idea to keep your magazines tidy and in order. Take a look at this how-to video of creating this easy magazine wall display. The pictures below also show how simple it is to create this timber fram ... [read more]

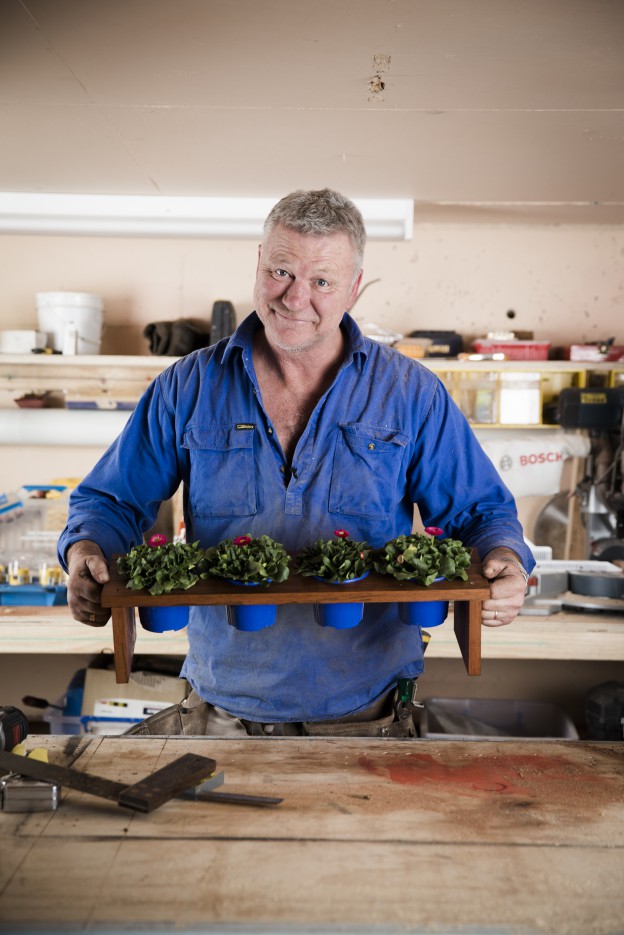
DIY Flower Pot Holder

https://www.youtube.com/watch?v=u8rgQEJNKzw Do you want your kitchen window sill to look greener? Then watch this how-to video to make the perfect shelf for your pots. This simple timber plant stand, for inside or outside, is just the thing for ... [read more]

DIY Tealight Holder

This DIY Tealight Holder will impress and light up your dining table, with this preety platform for battery lights – it’s so easy!

Check out this easy how-to video to create your own tealight holder or have a look at the photos below to see how easy it is to make this DIY Tealight Holder with step-by-step instructions.

140729H+scot-1646

Step 1: Pencil and combination square

140729H+scot-1349

Using a pencil and a combination square, measure and mark a line vertically down the centre of your timber. This will ensure that your candles are sitting in a straight line. My piece of timber is 69mm wide so I’ve set my combination square to 34mm.

Step 2: Measuring tape

140729H+scot-1354

Using the measuring tape, mark 50mm from each end of the timber. This is where your left and right candles will sit. Then, place your tealights in a straight line in the centre of the timber, on the line you have created.

Step 3: Measure and mark

140729H+scot-1351

Measure and mark an 80mm distance between each candle. Continue this process until you have six marks separated by an 80mm gap.

Step 4: Depth of the candle

140729H+scot-1367

Measure the depth of the candle to determine where it sits on the forstner bit and start drilling the marked area. This top of the candle should be sitting flush with the timber. Repeat process.

Step 5: Sanding timber and staining timber

140729H+scot-1373

Sand the timber and use a cloth to give it a stain. Make sure to wear latex gloves when applying to avoid staining your hands.

Step 6: 

HERO-1872

Once completely dry, drop the tealights in.

Final result: DIY Tealight Holder

HERO-2369


Related: Do it Yourself

DIY Toothbrush Holder

This DIY Toothbrush Holder is so easy to make - you can even get the kids involved. Check out this how-to video to create your very own DIY Toothbrush Holder or have a look at the photos below see how easy it is to make this DIY Toothbrush Hol ... [read more]

DIY Timber Drink Stand

A Timber Drink Stand to solve your dilemma when having a drink or eating food whilst watching some telly. Watch this how-to video where I show you how you too can create a Timber Drink Stand for your armchair. Have a look at the photos and ... [read more]