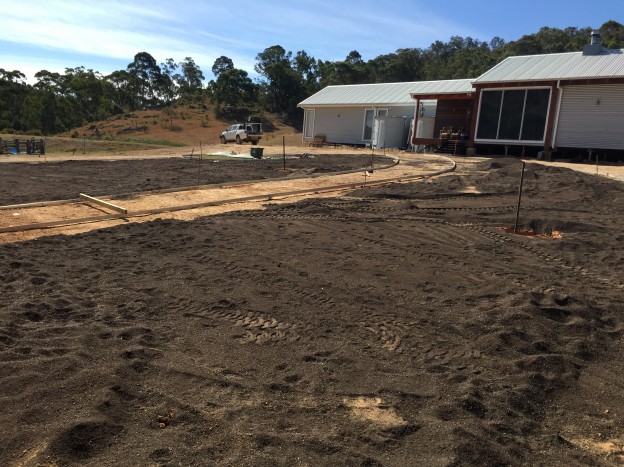
The last job to do is the landscaping. We marked out the roads with metal edge stripping and then laid all the irrigation for the lawn and trees. The gravel for the roads was next, laid it, levelled and compacted it. Then my son Charlie and I, with the help of some neighbours laid 900 sq mts of turf. A tough job but we did it in a day. Well worth it though, and didn’t it look great. We’d earnt a beer that night.


Related: Follow the Mudgee build
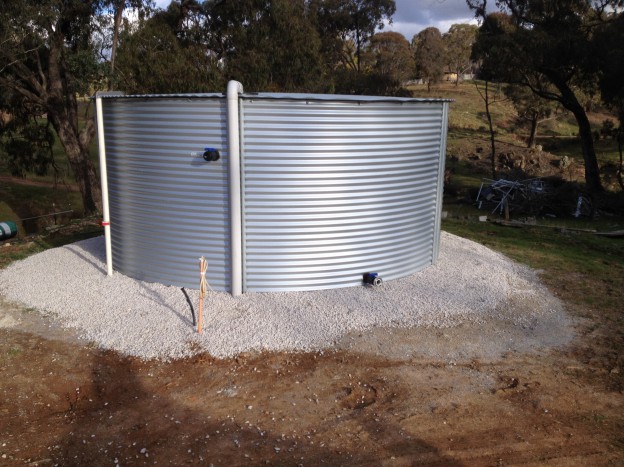
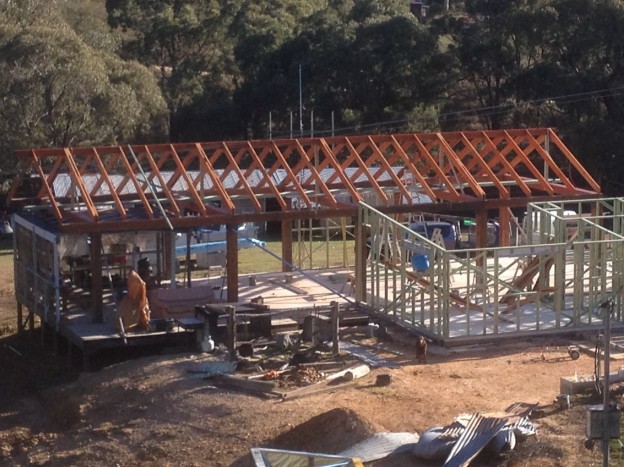
Follow the Build – Mudgee Part 16
Every bush house needs water tanks for all your water for the house but you now also need 25,000 litres purely designated for fire fighting. The two tanks at the house are for the house. The 40,000 litre tank at the shed is our designated fire ... [read more]
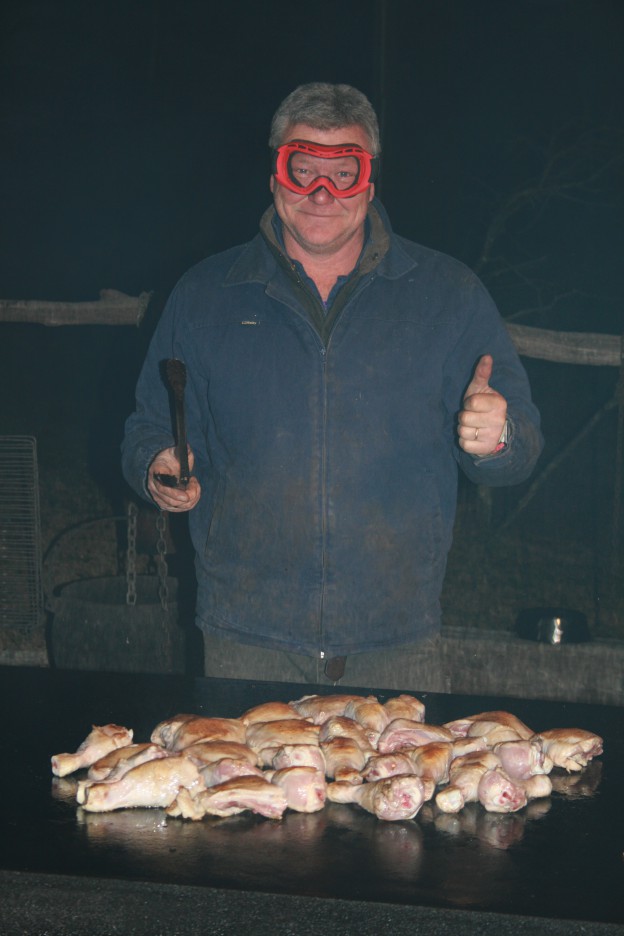
Follow the Build – Mudgee Part 15
This outdoor BBQ means a lot to the family. So that’s why we kept it and the deck and built the new house around it. All of our family memories have been around that fire. I laid 600 bricks to build it and the hot plate is a 8mm plate weighin ... [read more]