PIERS SETOUT

Here is another update on my project – Follow the Build Part 3.
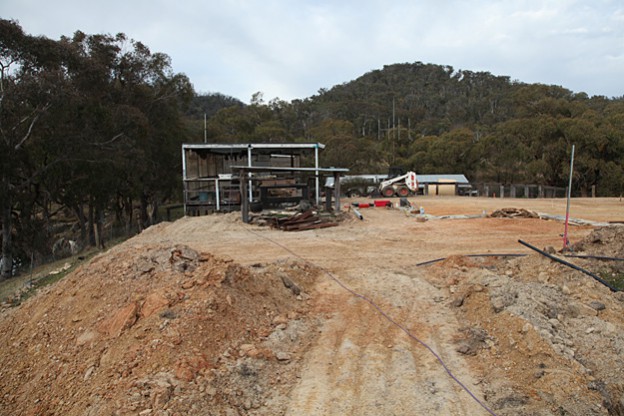
You would have read in Follow the Build Part 2 which is all about excavation.
Now that we have a good level site I’m getting into the set. It’s so important to come up out of the ground correctly. The rest of the house obviously depends on a correct set-out. String lines, timber pegs, lump hammer, tape measure and of course the plans.

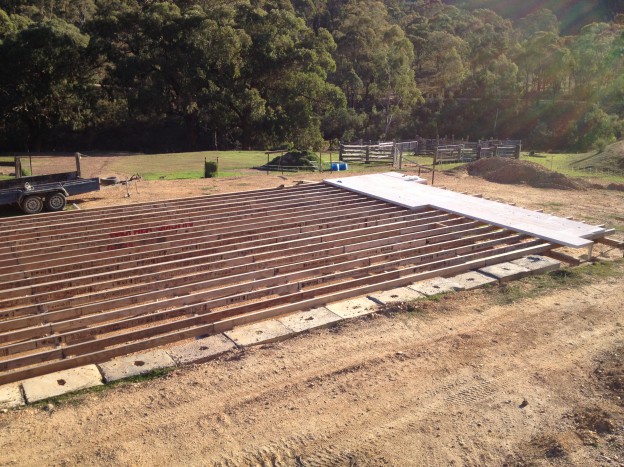
To get the site level we used a couple of machines (Bobcat, Tractor) and recycled concrete blocks. These blocks are fantastic. Any concrete left in the trucks coming back to the yards has to be disposed of, so they build formwork for these blocks, pour the excess in and sell them for about $40. They weigh a bit over a tonne and make great retaining walls as you can see.

As the site is all reactive material, as in clay, there is a lot of movement in the ground due to moisture. Lots of rain the clay swells and drought conditions means it shrinks. This will give your house movement and in turn cracks in your plaster, cornice, even brick work but mostly in the joints.

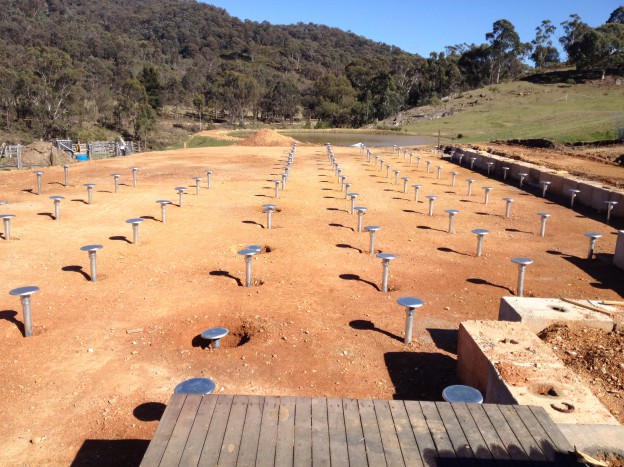
So I’m use to a terrific system called screw piers. Basically they’re a steel shaft with a drill bit attached to the end and they are screwed in until they hit stable ground. They are then cut to the right height using a laser level, then bolt on an ant cap and you’re ready for your bearer.
A test drill is done to find stable ground so the excavator knows how deep to go. In my case about 2 ½ mtrs – 3 mtrs. So really my house is actually resting 3 mtrs below ground and when she’s finished I’ll have no movement no matter what the conditions.
Keep following the build and let me know your thoughts via my Scotty Cam Facebook Page.
Won’t be long till the next update so stay tuned for part 4.
Related: Follow the Mudgee build
Mudgee – Follow the Build Part 4
FLOOR FRAME I'm back with another instalment of Mudgee - Follow the Build Part 4. You would have read in Follow the Build Part 3 piers setout. Whilst we're building the new house here at Mudgee, you would have seen the progress of my new b ... [read more]
Mudgee – Follow the Build Part 2
EXCAVATION Here is another update on my project – Follow the Build Part 2. You would have read in my last post Follow the Build Part 1 where it's all about demolishing my old house. Now that the demo is complete it’s time for excavat ... [read more]


 Keep following the build and let me know your thoughts via my