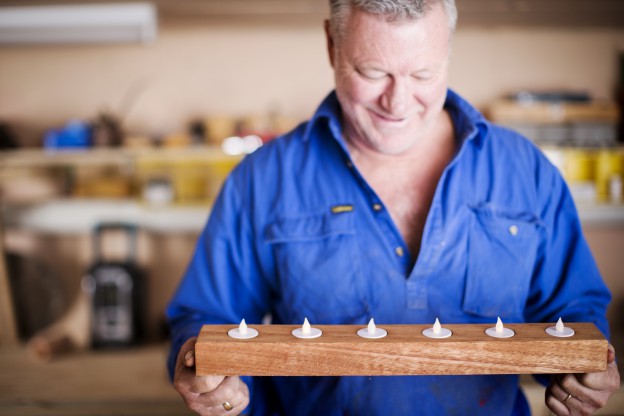
This DIY Tealight Holder will impress and light up your dining table, with this preety platform for battery lights – it’s so easy!
Check out this easy how-to video to create your own tealight holder or have a look at the photos below to see how easy it is to make this DIY Tealight Holder with step-by-step instructions.

Step 1: Pencil and combination square

Using a pencil and a combination square, measure and mark a line vertically down the centre of your timber. This will ensure that your candles are sitting in a straight line. My piece of timber is 69mm wide so I’ve set my combination square to 34mm.
Step 2: Measuring tape

Using the measuring tape, mark 50mm from each end of the timber. This is where your left and right candles will sit. Then, place your tealights in a straight line in the centre of the timber, on the line you have created.
Step 3: Measure and mark

Measure and mark an 80mm distance between each candle. Continue this process until you have six marks separated by an 80mm gap.
Step 4: Depth of the candle

Measure the depth of the candle to determine where it sits on the forstner bit and start drilling the marked area. This top of the candle should be sitting flush with the timber. Repeat process.
Step 5: Sanding timber and staining timber

Sand the timber and use a cloth to give it a stain. Make sure to wear latex gloves when applying to avoid staining your hands.
Step 6:

Once completely dry, drop the tealights in.
Final result: DIY Tealight Holder

Related: Do it Yourself
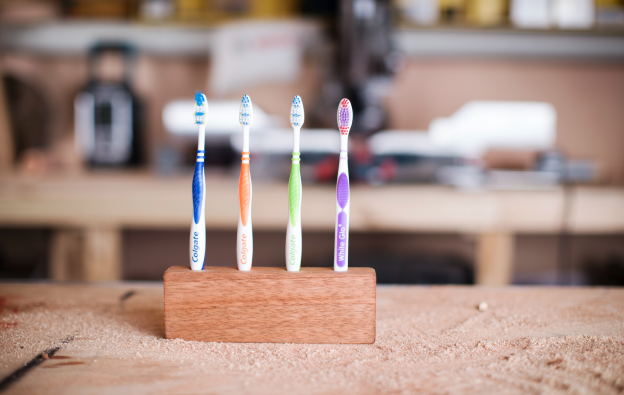
DIY Toothbrush Holder
This DIY Toothbrush Holder is so easy to make - you can even get the kids involved. Check out this how-to video to create your very own DIY Toothbrush Holder or have a look at the photos below see how easy it is to make this DIY Toothbrush Hol ... [read more]
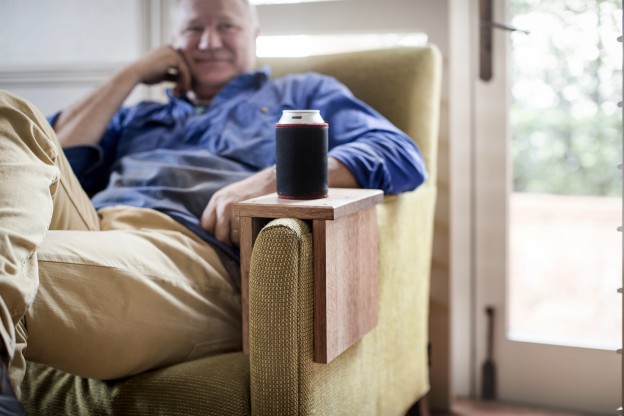
DIY Timber Drink Stand
A Timber Drink Stand to solve your dilemma when having a drink or eating food whilst watching some telly. Watch this how-to video where I show you how you too can create a Timber Drink Stand for your armchair. Have a look at the photos and ... [read more]