Monthly Archives: May 2016

Slow Cooked Lamb Shanks

ScottyCamRecipe-May

As our kids are getting older, Charlie 19, Bill and Sarah 16, Ann and I are finding ourselves at home alone (sometimes) on a Sunday. This is a new thing for us but we have to accept it as it comes. In the old days we’d always do a family dinner on Sunday. We still do them – just not every Sunday.

So last Sunday we all went for a walk and a swim in the morning, then by midday the joint is a ghost town. Ann suggested we pop down to the local for a few quite ones and a meal – even better she said, “How about I slow cook some lamb shanks and when we all get home, we can sit down to a cracking winter meal. Better still, while its cooking we can go down to the pub.”

I can’t say no to that!

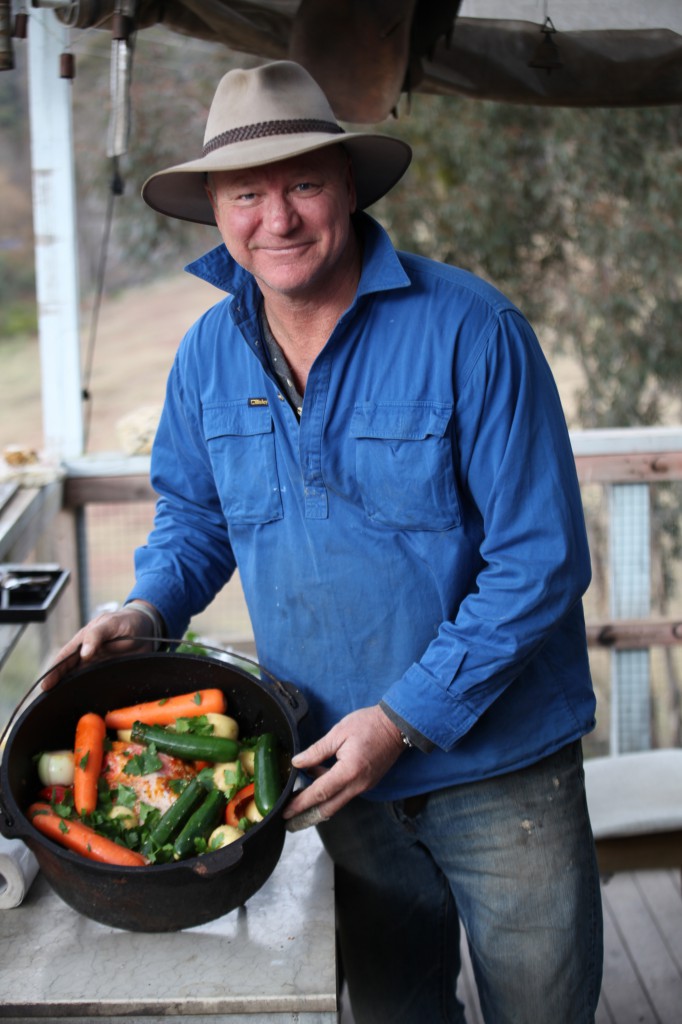
If you’ve had slow cooked lamb shanks before, you know that they are a ripper. Put them on at two in the arvo, cut up some of your favourite veggies (carrots, potato, zucchini, onion) and mix it up with some parsley, garlic your choice of herbs. Once done, pop down the pub like I did with the wife, have a few wines, couple of beers, a light afternoon tea, maybe a soup and then come home at six. All that’s left to do is put on a bit of rice to the quantity you need and then sit down, relax and enjoy a perfect family meal together.

ON YA Scotty

DIY Peg Hat Rack

An interchangeable timber peg board is a way to solve your messy hallway problem.

Check out this how-to video to create this cracker of a rack to hang your hats, coats and umbrellas. Just change the position of the pegs to suit your needs and your entrance or hallway mess is gone.

Have a look at the photos below to see how easy it is to make this peg-style rack.

Go and watch the video above which will show you step-by-step on how to make your very own Peg Hat Rack or can also check below the steps.

Step 1 – Measure and mark plywood

First up, work out how big you want your peg board to be. Mine is about 800mm long. Measure and mark plywood. 

150422H+scotty-3876

Step 2 – Cut down to size

Cut plywood down to size using a drop saw. You could use a handsaw – but make sure you make it nice and straight by using a square by using a square to mark it out. 

150422H+scotty-3879

Step 3 – Light sanding

I like to give the timber a light sand before I do anything more.

150422H+scotty-3881

Step 4 – Mark it with your ruler

Now you’ve got to mark out the pegs – you’ve got to be very accurate with this! Measure 50mm from the top then divide by four equal spots coming down the timber. Then divvy up the width of the timber to work out how many pegs you’re going to need. 

150422H+scotty-3885

150422H+scotty-3889

Step 5 – Drill the holes in

Once you’ve marked out your grid system drill the holes for the pegs. Go as deep as you can without going right through, then give the entire board a good sanding. Stain it, if you like. 

150422H+scotty-3893

150422H+scotty-3896

150422H+scotty-3902

150422H+scotty-3905

150422H+scotty-3907

Step 6 – Cut your dowel pieces

Cut your 25mm dowel to length into as many pieces as you want – I cut eight – making sure they’re all the same length. Paint the ends for a big of colour.

150422H+scotty-3912

150422H+scotty-3919

150422H+scotty-3926

Step 7 – Place the peg piece where you like 

Place pegs along the board wherever you want hats and coats to hang. Move the pegs around wherever you like.

150422H+scotty-3930

Final result: DIY Peg Hat Rack
 150422H+scotty-4474


Related: Do it Yourself

DIY Timber Drink Stand

A Timber Drink Stand to solve your dilemma when having a drink or eating food whilst watching some telly. Watch this how-to video where I show you how you too can create a Timber Drink Stand for your armchair. Have a look at the photos and ... [read more]

DIY crate – it’s easy mate

  There are lots of second-hand crates around that look great and are really handy around the house. They can be expensive though, so check out the how-to video above to learn how you can make your own crate at a fraction of the cost of a sho ... [read more]

Mudgee – Follow the Build Part 3

PIERS SETOUT

Mudgee Build Part 3

Here is another update on my project – Follow the Build Part 3.

You would have read in Follow the Build Part 2 which is all about excavation.

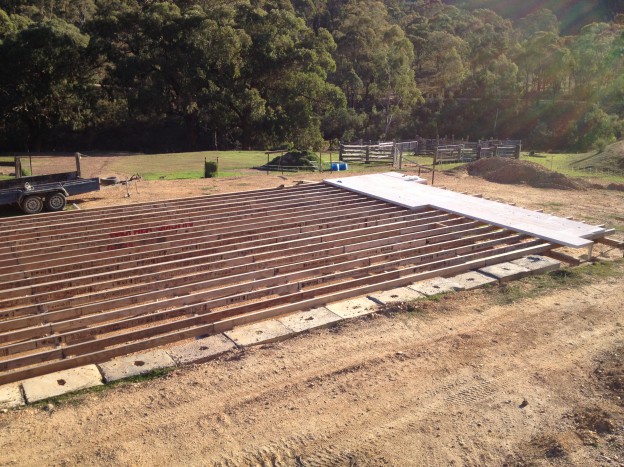
Now that we have a good level site I’m getting into the set. It’s so important to come up out of the ground correctly. The rest of the house obviously depends on a correct set-out. String lines, timber pegs, lump hammer, tape measure and of course the plans.

Mudgee Part 3

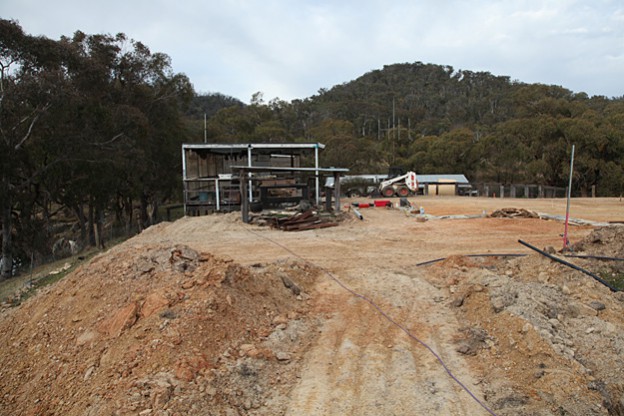
To get the site level we used a couple of machines (Bobcat, Tractor) and recycled concrete blocks. These blocks are fantastic. Any concrete left in the trucks coming back to the yards has to be disposed of, so they build formwork for these blocks, pour the excess in and sell them for about $40. They weigh a bit over a tonne and make great retaining walls as you can see.

IMG_0818 (1)

As the site is all reactive material, as in clay, there is a lot of movement in the ground due to moisture. Lots of rain the clay swells and drought conditions means it shrinks. This will give your house movement and in turn cracks in your plaster, cornice, even brick work but mostly in the joints.

Screw Piers

So I’m use to a terrific system called screw piers. Basically they’re a steel shaft with a drill bit attached to the end and they are screwed in until they hit stable ground. They are then cut to the right height using a laser level, then bolt on an ant cap and you’re ready for your bearer.

A test drill is done to find stable ground so the excavator knows how deep to go. In my case about 2 ½ mtrs – 3 mtrs. So really my house is actually resting 3 mtrs below ground and when she’s finished I’ll have no movement no matter what the conditions.

Keep following the build and let me know your thoughts via my Scotty Cam Facebook Page.

Won’t be long till the next update so stay tuned for part 4.


Related: Follow the Mudgee build

Mudgee – Follow the Build Part 4

FLOOR FRAME I'm back with another instalment of Mudgee - Follow the Build Part 4. You would have read in Follow the Build Part 3 piers setout. Whilst we're building the new house here at Mudgee, you would have seen the progress of my new b ... [read more]

Mudgee – Follow the Build Part 2

EXCAVATION Here is another update on my project – Follow the Build Part 2. You would have read in my last post Follow the Build Part 1 where it's all about demolishing my old house.  Now that the demo is complete it’s time for excavat ... [read more]